Tips for Installing Solar Garden Lights.
Illuminate Your Garden: A Simple Guide to Installing and Maintaining Solar Garden Lights

-
Introduction:
Brightening up your garden with solar lights is not only an eco-friendly choice but also a cost-effective way to add charm and safety to your outdoor space. Installing and maintaining solar garden lights is a straightforward process that anyone can do. In this guide, we'll walk you through the simple steps to set up and care for your solar lights, ensuring they shine brightly for years to come.
-
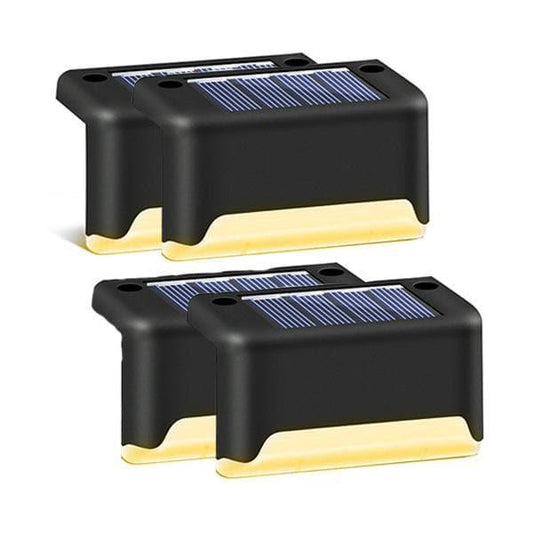
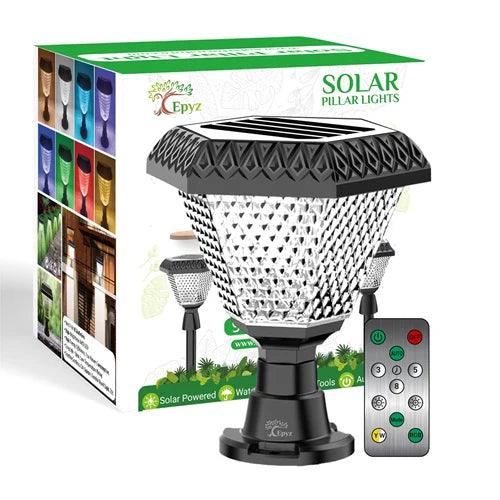
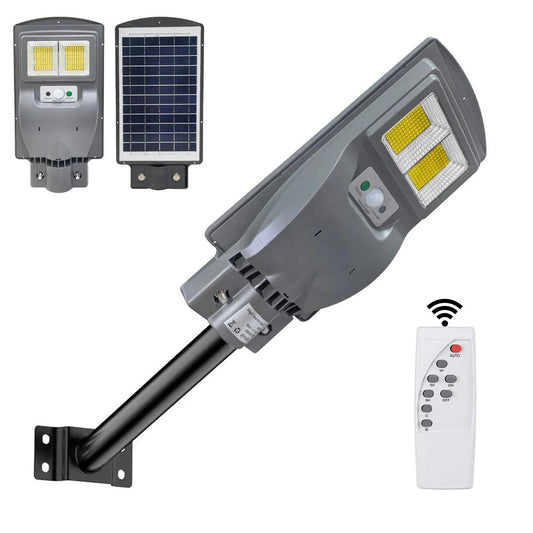
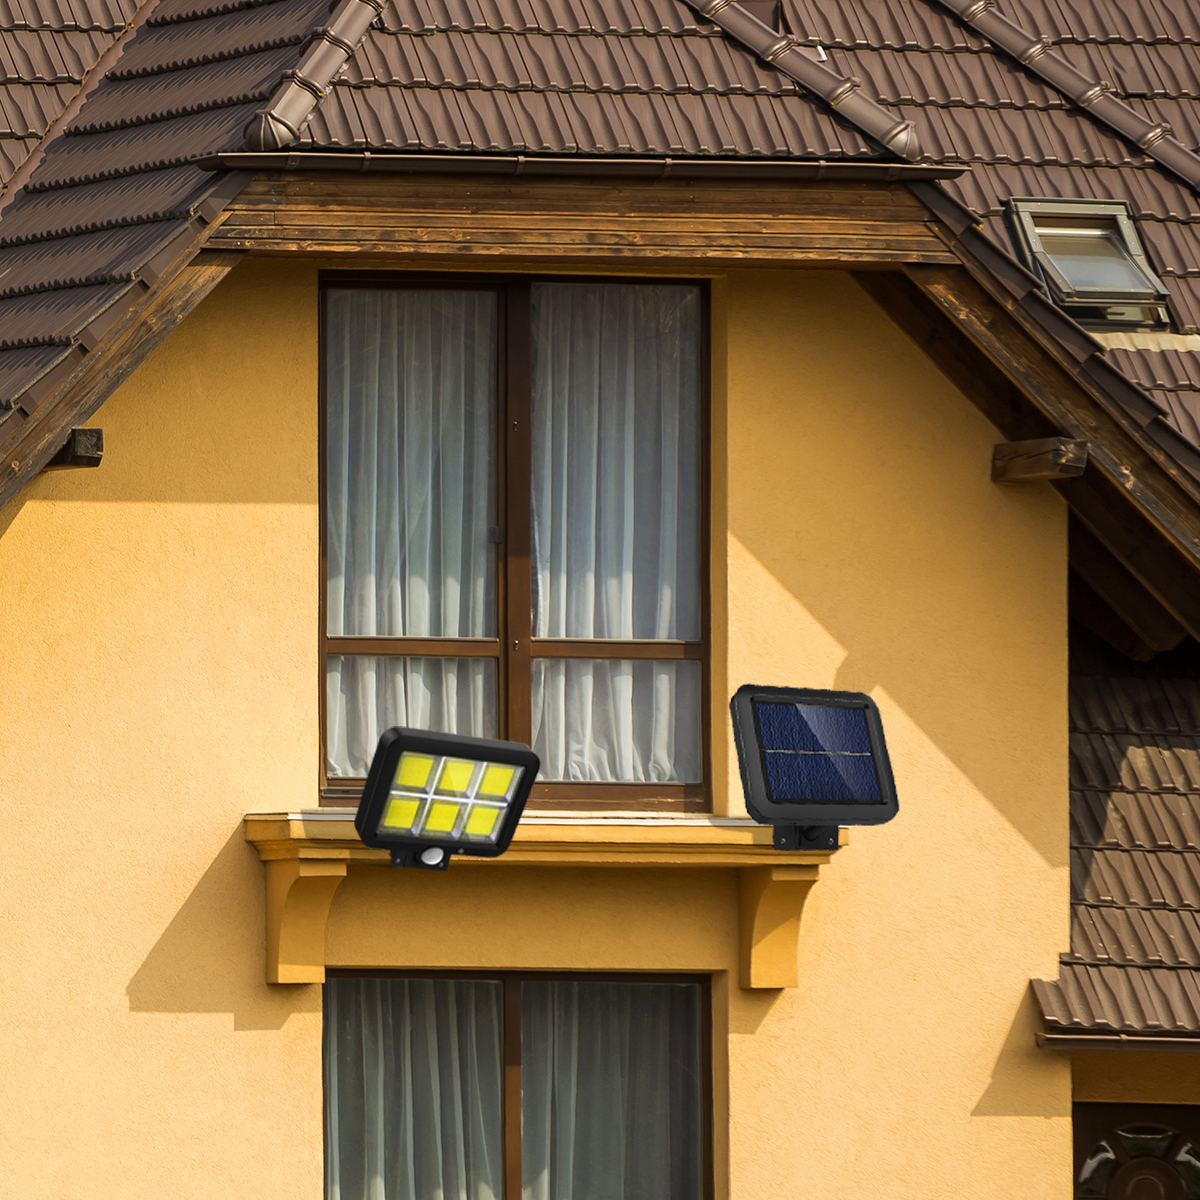
Choosing the Right Solar Garden Lights:
Before diving into the installation process, it's essential to choose the right solar garden lights for your space. Consider factors such as the size of your garden, the amount of sunlight it receives, and the style of lights you prefer. Look for lights with durable construction and waterproof features to withstand various weather conditions.

-
Installation Steps:
-
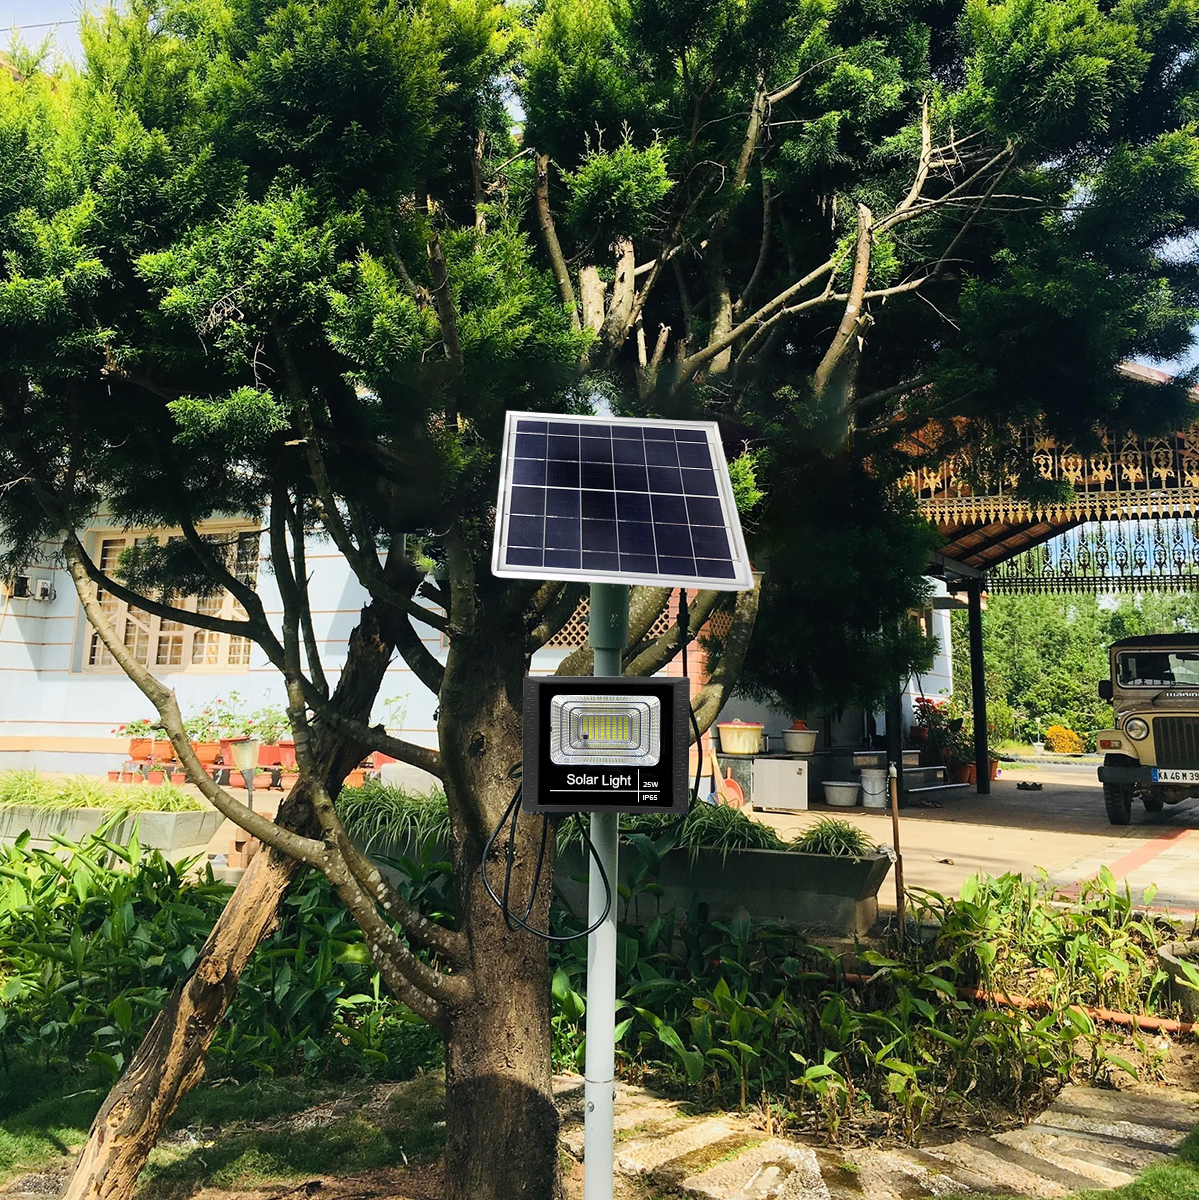
Select Ideal Locations:
Choose strategic locations in your garden where the solar lights will receive ample sunlight during the day. Ensure that they are not shaded by trees or structures, as direct sunlight is crucial for optimal charging.
-
Assemble the Lights:
Most solar garden lights come in two parts – the light fixture and the stake. Assemble them according to the manufacturer's instructions. This usually involves attaching the light to the stake, creating a simple and sturdy structure.
-
Place the Stakes:
Push the assembled stakes into the ground at your chosen locations. Make sure they are firmly inserted to provide stability. Keep a distance of about 6-8 feet between each light for even illumination.
-
Switch On:
Many solar lights have an on/off switch. Turn them on once they are set up. Some lights may require initial charging before first use, so refer to the manufacturer's guidelines.
-
Let Them Charge:
Allow the solar lights to charge for at least 8 hours in direct sunlight before expecting optimal performance. This initial charging period ensures the batteries are fully charged for extended nighttime illumination.
-
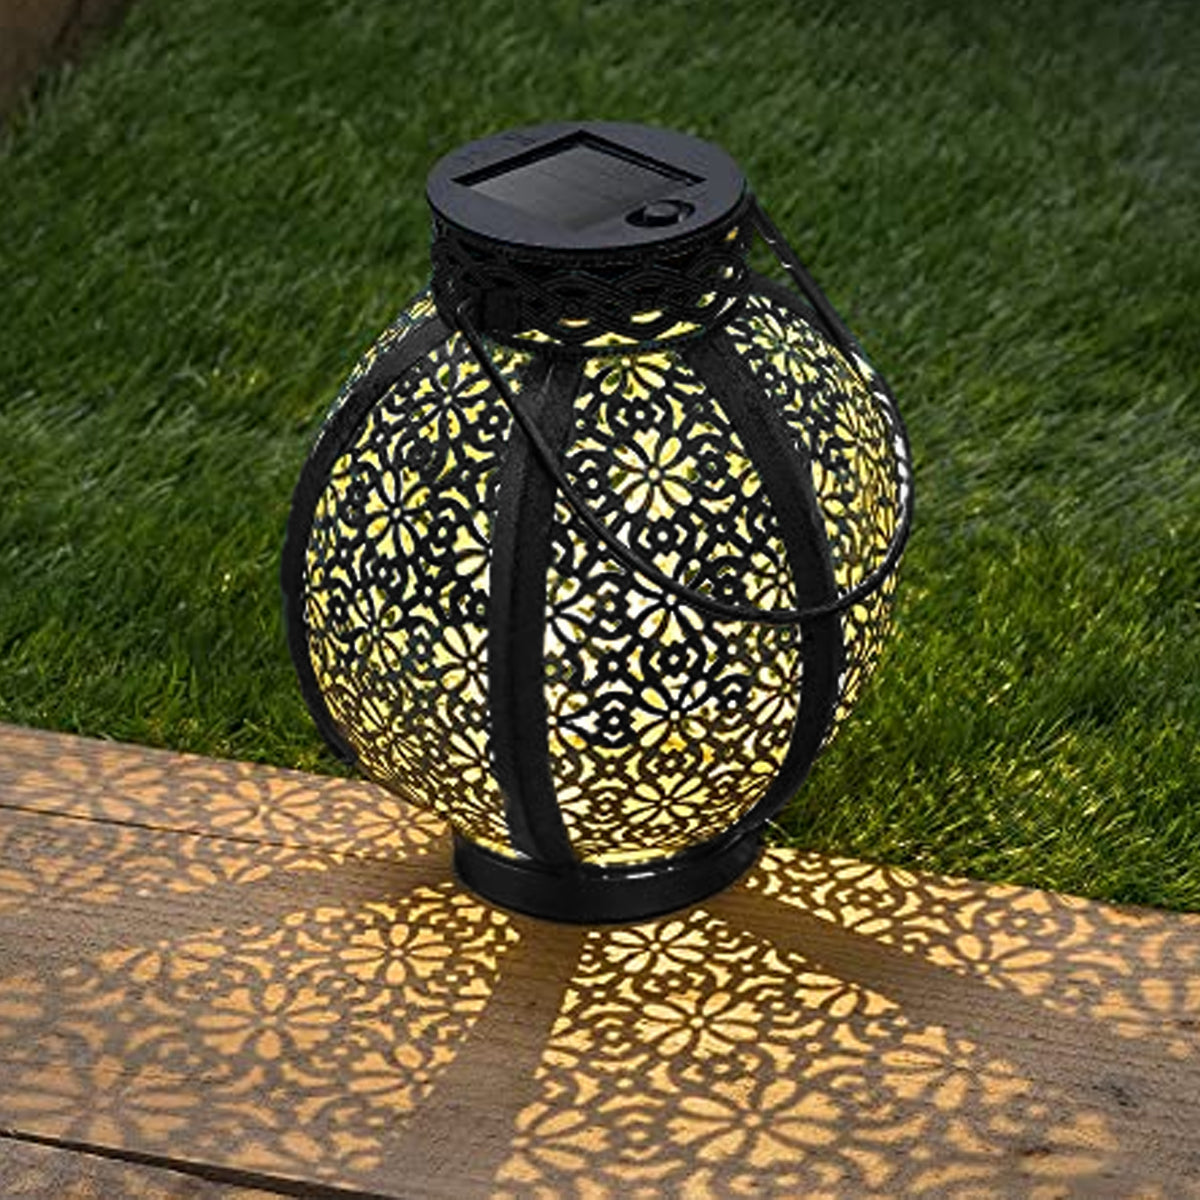
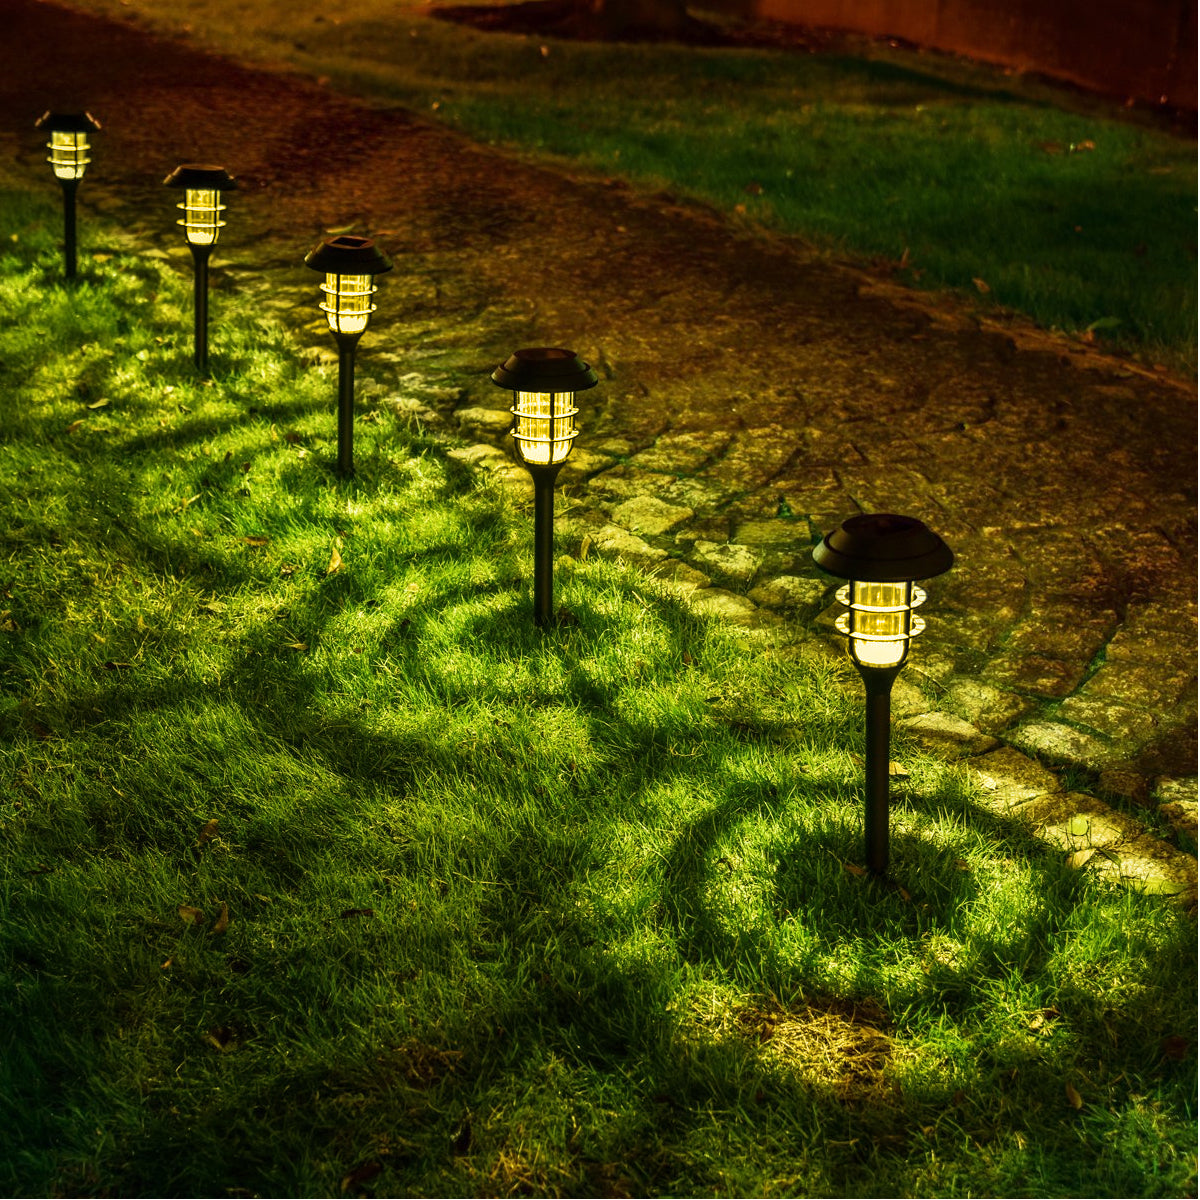
Enjoy Your Illuminated Garden:
Once the lights have charged, they will automatically turn on at dusk and off at dawn. Enjoy the magical ambiance they create in your garden.

-
Maintenance Tips:
-
Clean Solar Panels Regularly:
Keep the solar panels free from dirt, dust, and debris. Wipe them with a damp cloth periodically to ensure efficient energy absorption.
-
Check for Obstructions:
Inspect the lights regularly for any obstructions that might prevent them from receiving sunlight. Trim overgrown plants or remove objects that may cast shadows on the solar panels.
-
Replace Rechargeable Batteries:
If you notice a decrease in illumination time, it may be time to replace the rechargeable batteries. Most solar lights use standard AA or AAA batteries, which are easy to find and replace.
-
Secure Loose Parts:
Ensure that all parts, including the stakes and light fixtures, are securely in place. Tighten any loose screws or connections to maintain the structural integrity of the lights.